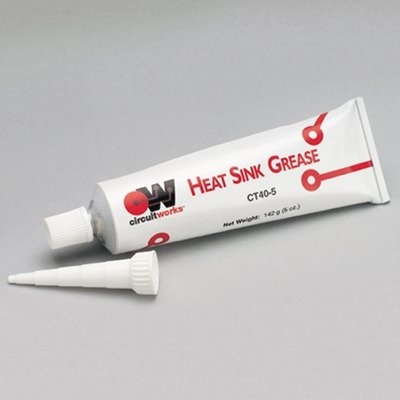
How do you apply heat sink compound (thermal paste)?
Applying heat sink compound, also known as thermal paste, is essential for proper heat transfer between a CPU (Central Processing Unit) or GPU (Graphics Processing Unit) and its corresponding heat sink. Thermal paste helps to fill microscopic imperfections on the surfaces of both the CPU/GPU and the heat sink, ensuring better thermal conductivity and reducing the chances of overheating. Here's a step-by-step guide on how to apply thermal paste correctly:
Note: Before starting, make sure to clean the surfaces of the CPU/GPU and heat sink with a lint-free cloth and isopropyl alcohol to remove any existing thermal paste or debris.
Step 1: Choose the right amount of thermal paste. Generally, a small pea-sized amount or a thin line along the center of the CPU/GPU is sufficient. Using too much can cause excessive spreading and lead to uneven heat distribution.
Step 2: For most CPUs and GPUs, it's best to apply the thermal paste directly onto the center of the CPU/GPU. If your CPU/GPU has an integrated heat spreader (IHS), apply the paste on top of it.
Step 3: If you have a CPU without an IHS, you can apply the thermal paste directly to the center of the CPU die. However, this method requires more precision and is generally recommended for experienced users.
Step 4: Once you've applied the thermal paste, carefully place the heat sink on top of the CPU/GPU. Make sure the heat sink is aligned with the CPU/GPU, and then gently press it down.
Step 5: Secure the heat sink in place using the appropriate mounting mechanism for your CPU/GPU socket. This could involve screws, brackets, or other fasteners, depending on your system.
Step 6: Avoid twisting or sliding the heat sink after it's in contact with the thermal paste. Doing so can create air pockets and reduce the effectiveness of the thermal transfer.
Step 7: Double-check to ensure that the heat sink is firmly and evenly seated on the CPU/GPU. If it's not making proper contact, you might need to reapply the thermal paste and try again.
Step 8: Reassemble the rest of your computer components, ensuring everything is properly connected and secured.
Step 9: Power on your system and monitor the temperatures to ensure that the thermal paste is doing its job correctly.
Remember, when applying thermal paste, less is often more. The goal is to fill any gaps and create a thin, even layer for optimal heat transfer. With proper application, you can ensure that your CPU/GPU stays cool and performs optimally.
For more information, check out "Repairing & Avoiding Electronic Faults with Thermal Paste".
Ask A Technical Question
Stay up-to-date on Chemtronics news, products, videos & more.
Related Products